
Slip Habit 2
A slippery slope!
Here’s the second installment to my slip explorations adventures, mostly about slip casting but I will touch on a few other slip techniques toward the end.
I am happy to report that I have successfully attempted slip casting with colored slip. After a bumpy start it’s been easier than I thought it could be.
I’ll get technical for the next few paragraph, feel free to skip ahead. If you have ever read anything about slipcasting, they talk about two important numbers you need: specific gravity and viscosity. Specific gravity measures the density of the slip, how much clay there is in the slip compared to the amount of water. If the specific gravity is too low, the slip will be too watery. If it’s too high it will be so thick it’s almost impossible to pour, although using Darvan will help with this, making the clay less likely to clump together while keeping the same specific gravity.
How to measure specific gravity: 100ml of water weighs 100g. If you fill a test tube with 100ml of slip, weighs it, substract the weight of the test tube and divide by 100, you get the specific gravity.
ex: my empty test tube weighs 40 g. The slip (in the test tube up to the 100ml mark) weighs 200g. 200-40 (the weight of the test tube)= 160g. 160/100=1.6. The specific gravity of this specific slip is 1.6.
The rough start : to make things simpler, I decided to buy ready-made slip at the store, so it would have the right amount of deflocculant in it and I had the best chance for success. I got a very expensive porcelain slip and decided to test the specific gravity. It was at 1.65 or something like this. The problem is that everything you read online tells you that for slipcasting the specific gravity should be close to 1.8 or it won’t work. So I started adding clay to the slip (I happened to have a bag of the very expensive porcelain the slip was made of) to increase the specific gravity. I dried clay, mixed it in, blended it, measured again. It barely budged. I did it again. And again. It went on for a month or two, I was going insane. I managed to get the specific gravity to 1.7, but it was getting super thick, so I kept adding deflocculant (Darvan or sodium silicate, see my first post about slips for the difference between the two) and it was still too thick. I ended up going to the store where I bought the slip and begged for some help. I must say the person who helped me is now my personal hero even though I don’t know their name. Apparently, 1.8 specific gravity is really high and would only be needed if you want to slip cast a huge piece, like a sink. For the little cup I wanted to try at first, they told me 1.6 and would work just fine.

in the process of slipcasting a cup

Lots of colors!
And it did! I must admit that I don’t really measure the specific gravity now I spray a little water or/and add a little deflocculant when it feels a little thick. As for viscosity, which I was talking about earlier? I never bothered finding out what it’s for, and it hasn’t seemed to make much of a difference. Maybe it would if you made huge pieces?
Slipcasting, although not as old as ceramics itself was invented at a time of pretty rudimentary knowledge and equipment, so it’s not as temperamental as some people want you to believe.
So what do you need to slip cast a cup? You need a plaster mold of a cup, which I made (maybe I’ll make a post about this sometimes. It’s a pain and very easy at the same time). If you don’t want to make one, you can also buy them at the ceramic store. You need the slip. In my case I added stains to the slip . Depending on the colors, you need about 3-10% stain to 100g of dried clay (pink and yellow will need closer to 10%, blues and green closer to 3%, it doesn’t need to be super exact unless you want the exact same shade every time) .
[ This part has been updated] So, I thought that when you measured the specific gravity of the slip, you knew how much dried clay is in the slip, that 1.6 specific gravity equaled 100ml of water to 60g of dry material. Then I tried to make my own slip from dry materials and realized I was completely wrong. To make wet slip you put 70g of dry slip to 30ml (=30 grams) of water and NOT 100ml. If you’re thinking, that’s a lot of dry material to very little liquid, you’re correct. The only way to make it turn “wet” is with deflocculant, it’s really magical. From my experience, you basically have 100 g of dry material in 100 ml of slip. It makes it easier to calculate the percentage of stain. For a blue stain, 3-5 g of stain for every 100ml of slip, more if you have yellows and pinks. What I end up doing is that when my slip is running low, I add white slip and mix it with the old slip. It means the color is going to be less vibrant but you don’t have to redo all the calculations. Then the next time it’s running low, I will add stain with the slip. If having the same colors every time is important to you, you can make your own tests and figure out what percentage of stains works for you. But a little stain can get you quite far.
Slipcasting using four colored layers
Once I had about five different colors, my first attempt was using several colored layers on top of each other so I could carve through them. I figured out a few things:
1) If I am going to carve through the layers, I like to pour the darker layer first and then the other colors next ending with a white “buffer” that will be on the inside of the pot. This is just personal preference.
2) The first layer is going to dry faster than the other ones, so you need less time if you want fairly even layers of the different colors. I now do 1 mn/ 2 mn/ 5 mn/ 8mn for each subsequent layer. The last layer is a white buffer I have found out that 15 minutes overall time is what I need to be able to carve without poking a hole (at least not every time) while making my piece translucent where the carving is. The white inside layer allows me to know when I am carving too deep if it peaks through. You can increase the time to 20 minutes if you want a little thicker walls.
3) You need to wait a surprisingly short time between layers before you add the next one so the slips don’t mix, but it will depend on how watery your slip is. To check, put the mold upside down and see if the slip is still flowing. If it stays in place, even if it still looks moist, you can pour the next layer. You don’t want to pour the next layer when the last layer is still wet as the slips are going to mix and contaminate each other until you only have one color, a dull grey.
4) When you have all the layers, you need to put your plaster mold upside down at an angle (like resting on a rock or something) to let it dry (apparently if it’s upside down flat the bottom is going to cave in?)
5) I am still working out the optimal wait time before you take the piece off the mold. After 20 minutes, I usually clean the edges with a rubber scraper (so the plaster mold is not damaged) and pry the edges loose so the air can circulate, then I let it sit for another 30 minutes or so. Usually it just pops out, but occasionally you have to dig the rubber scraper a little deeper until the mold releases. At first, I tried to get the piece out when it was too wet and I had to do some damage control to clean up the walls and reshape the piece. Although they can get distorted, they usually made it through all the firings in good shape. I suspect that the good quality porcelain helps. Porcelain is finicky, but it’s very strong and plastic, which seems would really be a bonus when you’re slipcasting.

Finished cup

Even the scraps are pretty!

Just carved!
Random things to consider:
Slipcasting takes space, especially with colored slip . You need to store the molds and the colored slips (one container for each color). I only have about 3 small molds for now (I started with 2) and about 7-8 colors (I started with 3). It’s good to start small. I am planning to make bigger molds, which might create new issues (and a third post?).
Another aspect of the process I didn’t necessarily realize is that you need to fill the entire mold with the colored slip, and the bigger the mold the more slip you need. Only a small portion of this slip will actually attach to the plaster walls, but you need enough to fill the mold otherwise the layers won’t be the same thickness all the way up. So you need a lot of “passive” slip and then you have to keep refilling it to replace the part that actually attached to the mold. I’m a little annoyed at this lazy slip who just comes around for the ride and then goes back to its container until the next time, taking space on my shelves. It’s insane, I know.
I should mention that one of the colors is “grey” which is in fact all the scraps that you get when you pour the slip out (splattering) , take the piece off the mold or trim it. I have to trim the top of the piece, which is very uneven. But I don’t have to trim the bottom like I would if I throw on the wheel, so it evens out. The grey slip is nice and ensures you don’t waste perfectly good porcelain slip. Waste not, want not.
This is not about slipcasting per say, but make sure to carve when the piece is leather hard. I always carve too soon and make a mess!
Other techniques with slip casting and colored slips
Once I figured out this one technique, I tried variations. Here are a few:
1) You can drip some slip in the mold first to create lines (it’s more like slip trailing then) before covering with the colored layers.
2) You can stagger the layer so you can see each one under the others. The wall at the top are a little thinner than the bottom but it seems to work out OK.
3) Marble some slip, let it dry enough that you can cut a shape out of it, get it wet, stick it to the plaster mold sides and cover with the slip.
4) Only one layer, but you dripped some different colors on the base layer to create a marbling effect when you pour.

The “planets” were created by mixing three different slips, left to dry a little, then cut out and stuck to the plaster mold, then black slip was poured (3rd technique).

Marbled cup, with a white base and two different blues and a yellow slip added and poured into the mold (4th technique) .

Staggered layers (orange and blue) with a black slip trail first (and some orange that dripped from the first layer). (1st and 2nd technique combined) . This is my favorite piece ever!

“Just” carved… Love this one too! The original technique and the reason I wanted to try slipcasting with colored slip.
Other techniques using colored slip for surface decoration
I love slipcasting but I still like to experiment with slip for surface decoration. Here are a few I didn’t share in my last post:
1) Create a pattern with black wax (wax with black stain mixed in), like a checkered pattern with small “cells” and fill the cells with different colored slips. This was inspired by a French Potter name Roger Capron who did similar designs. The black stain can get a little messy though, especially once it’s bisqued.
2) Use a string or yarn dipped in slip, arrange it on the piece (works better on a flat surface) in a convoluted way and pull it out to discover what pattern it creates. I see flowers!
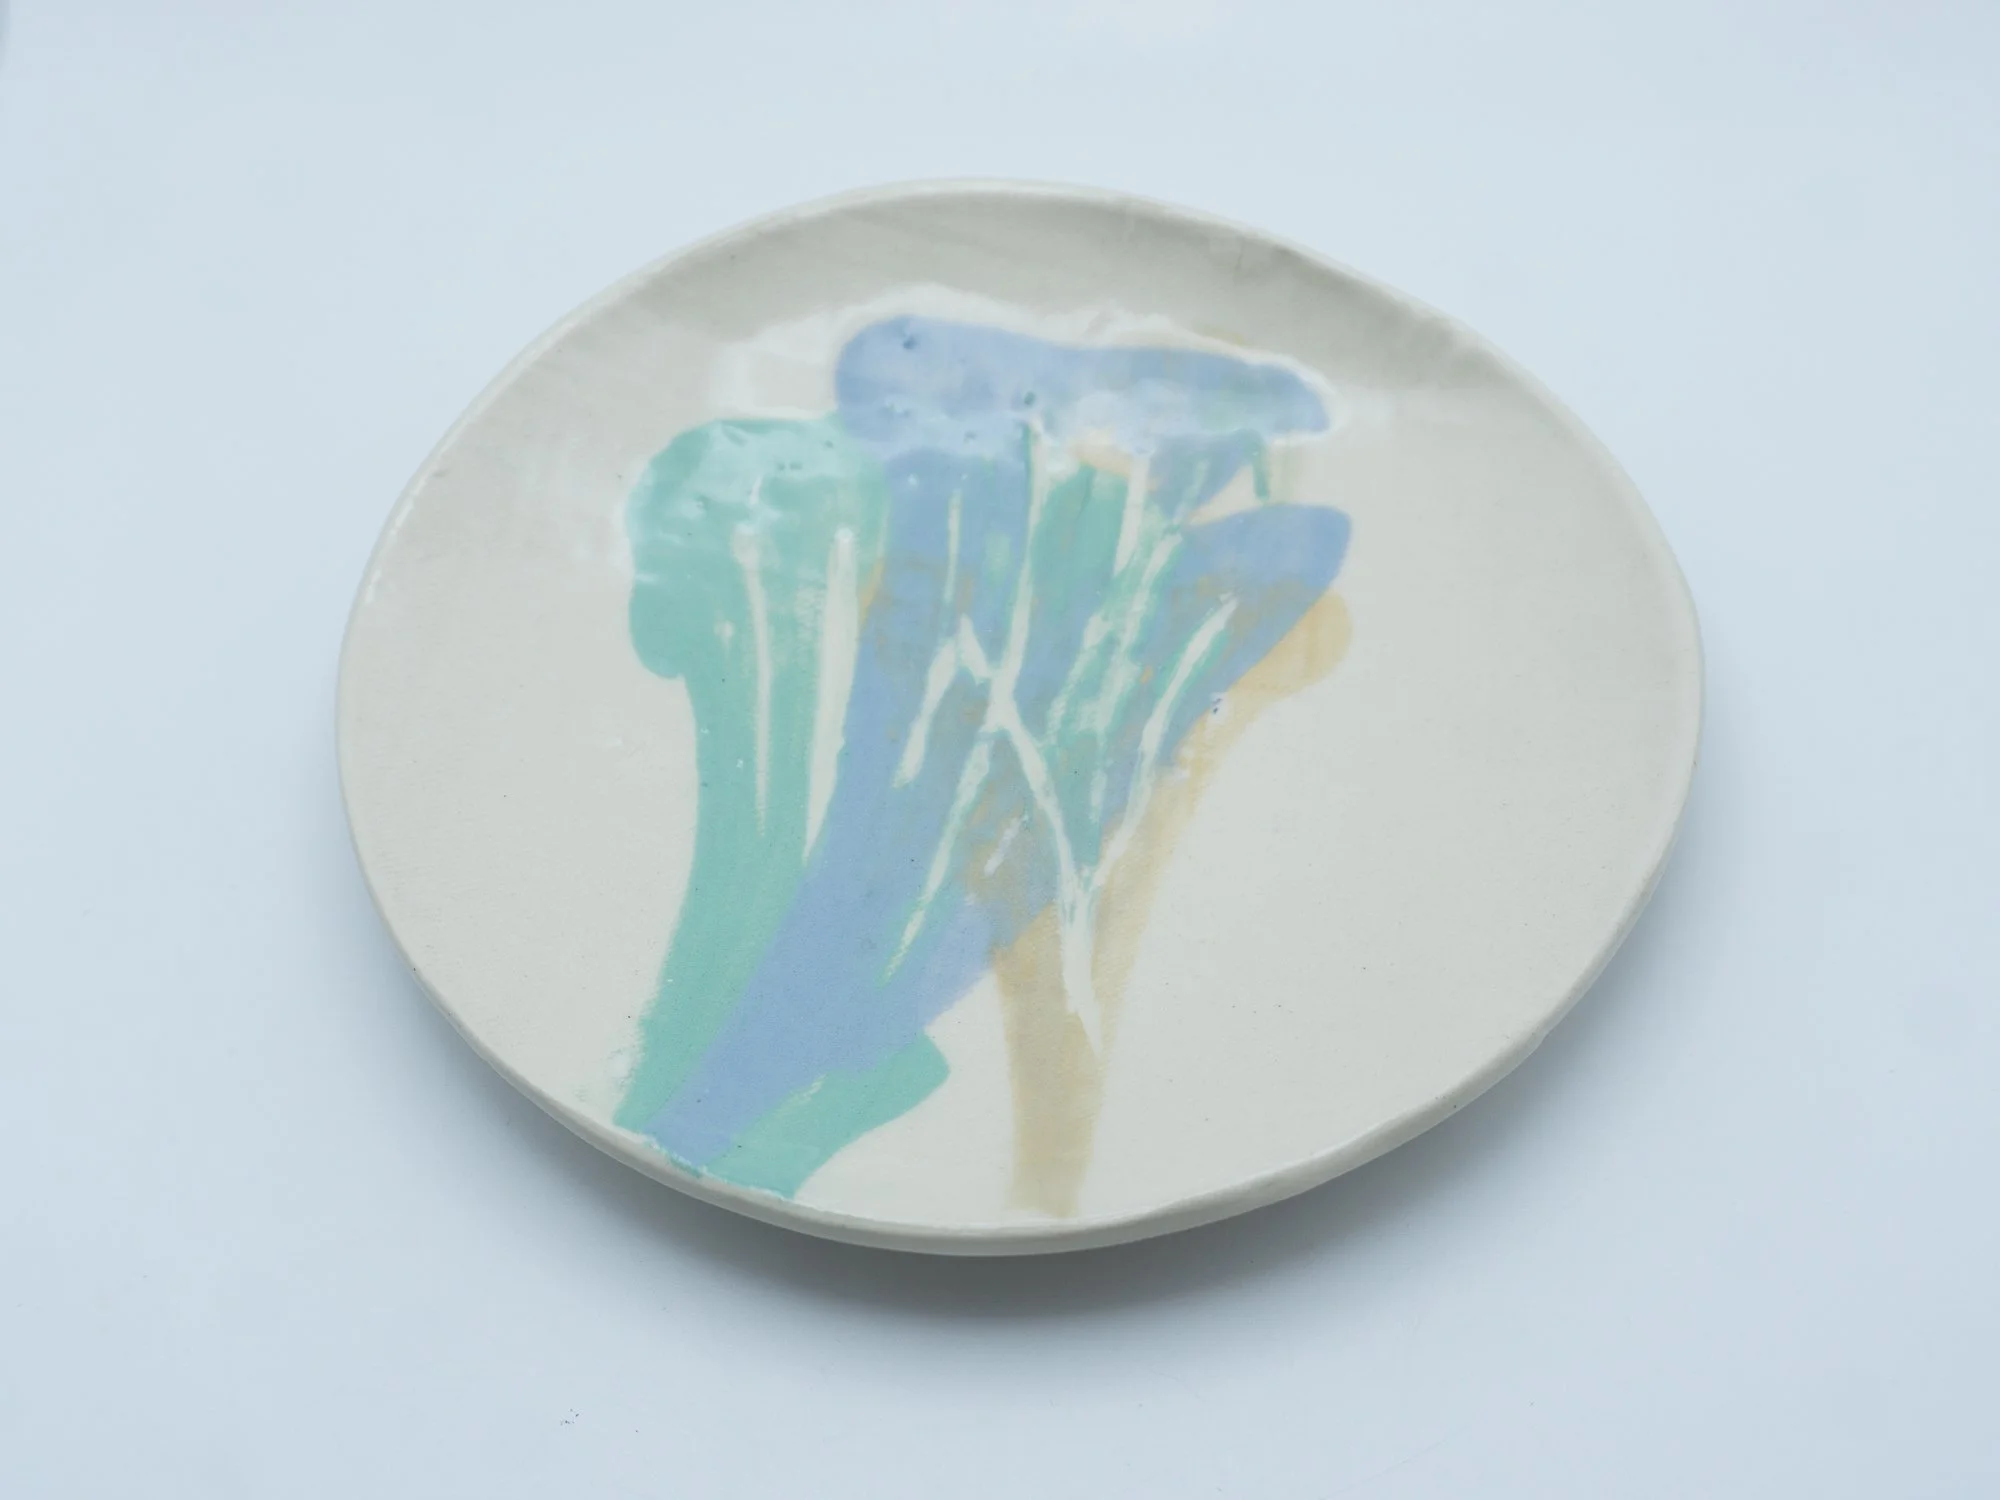
3) With rubber stamps normally used to create pattern into the clay, paint them with slip and apply them to a leather hard piece. You can pretty much try anything dipped in slip and see what kind of image it will create. I like using sponges too to create a hazy surface decoration (picture soon!).

“Capron design” (1st technique)
Designs made with yarn dipped in slip, then pulled away (2nd technique)

Rubber designs, with three different blues (3rd technique)
That’s it for today!