

Slip Habit 3
I wrote in my first slip blog post that to make slip you just need to add water to clay. It works for normal slip you use for decoration, but there are things you can add to make your slip work better for you, like adding vinegar, make paper slip or use a deflocculant, depending on what you use your slip for. Plain clay and water definitely doesn’t work for slipcasting.
I explained in this post how I started experimenting with slipcasting. At the start, I used ready-made slipcasting slip. I bought the most expensive porcelain slip, because with colored slip you want colors that are as vibrant as possible (at least I do) and porcelain works best for this. By the time I ran out of slip and had to buy new one a couple more time, I heard on a podcast I recommend (For Flux Sake) that although making your own clay required a lot of equipment and was a difficult endeavor, making your own slip from dry material was easy and didn’t require much equipment. By this point, I was hooked with the process. It was clear I would need a steady supply of slip for the foreseeable future. Dry slip is cheaper than wet slip. I looked into buying dry slip to make my own.
I bought dry English Grolleg casting slip from the Clay Art Center to try it out. Originally I bought my slip from Georgie’s in Oregon. Clay is heavy and most potters tend to use their local clay supplier, or semi local : studios in the Pacific Northwest will usually order from CAC in Washington or Laguna in California for example, but not from the East coast. Single potters are pretty much stuck with the clay that is available in their studio or at their local supplier unless they’re willing to pay huge shipping fees. However Georgie’s didn’t offer dry slip for the porcelain I had been using, and I had better experience with CAC products overall, so I gave it a try.
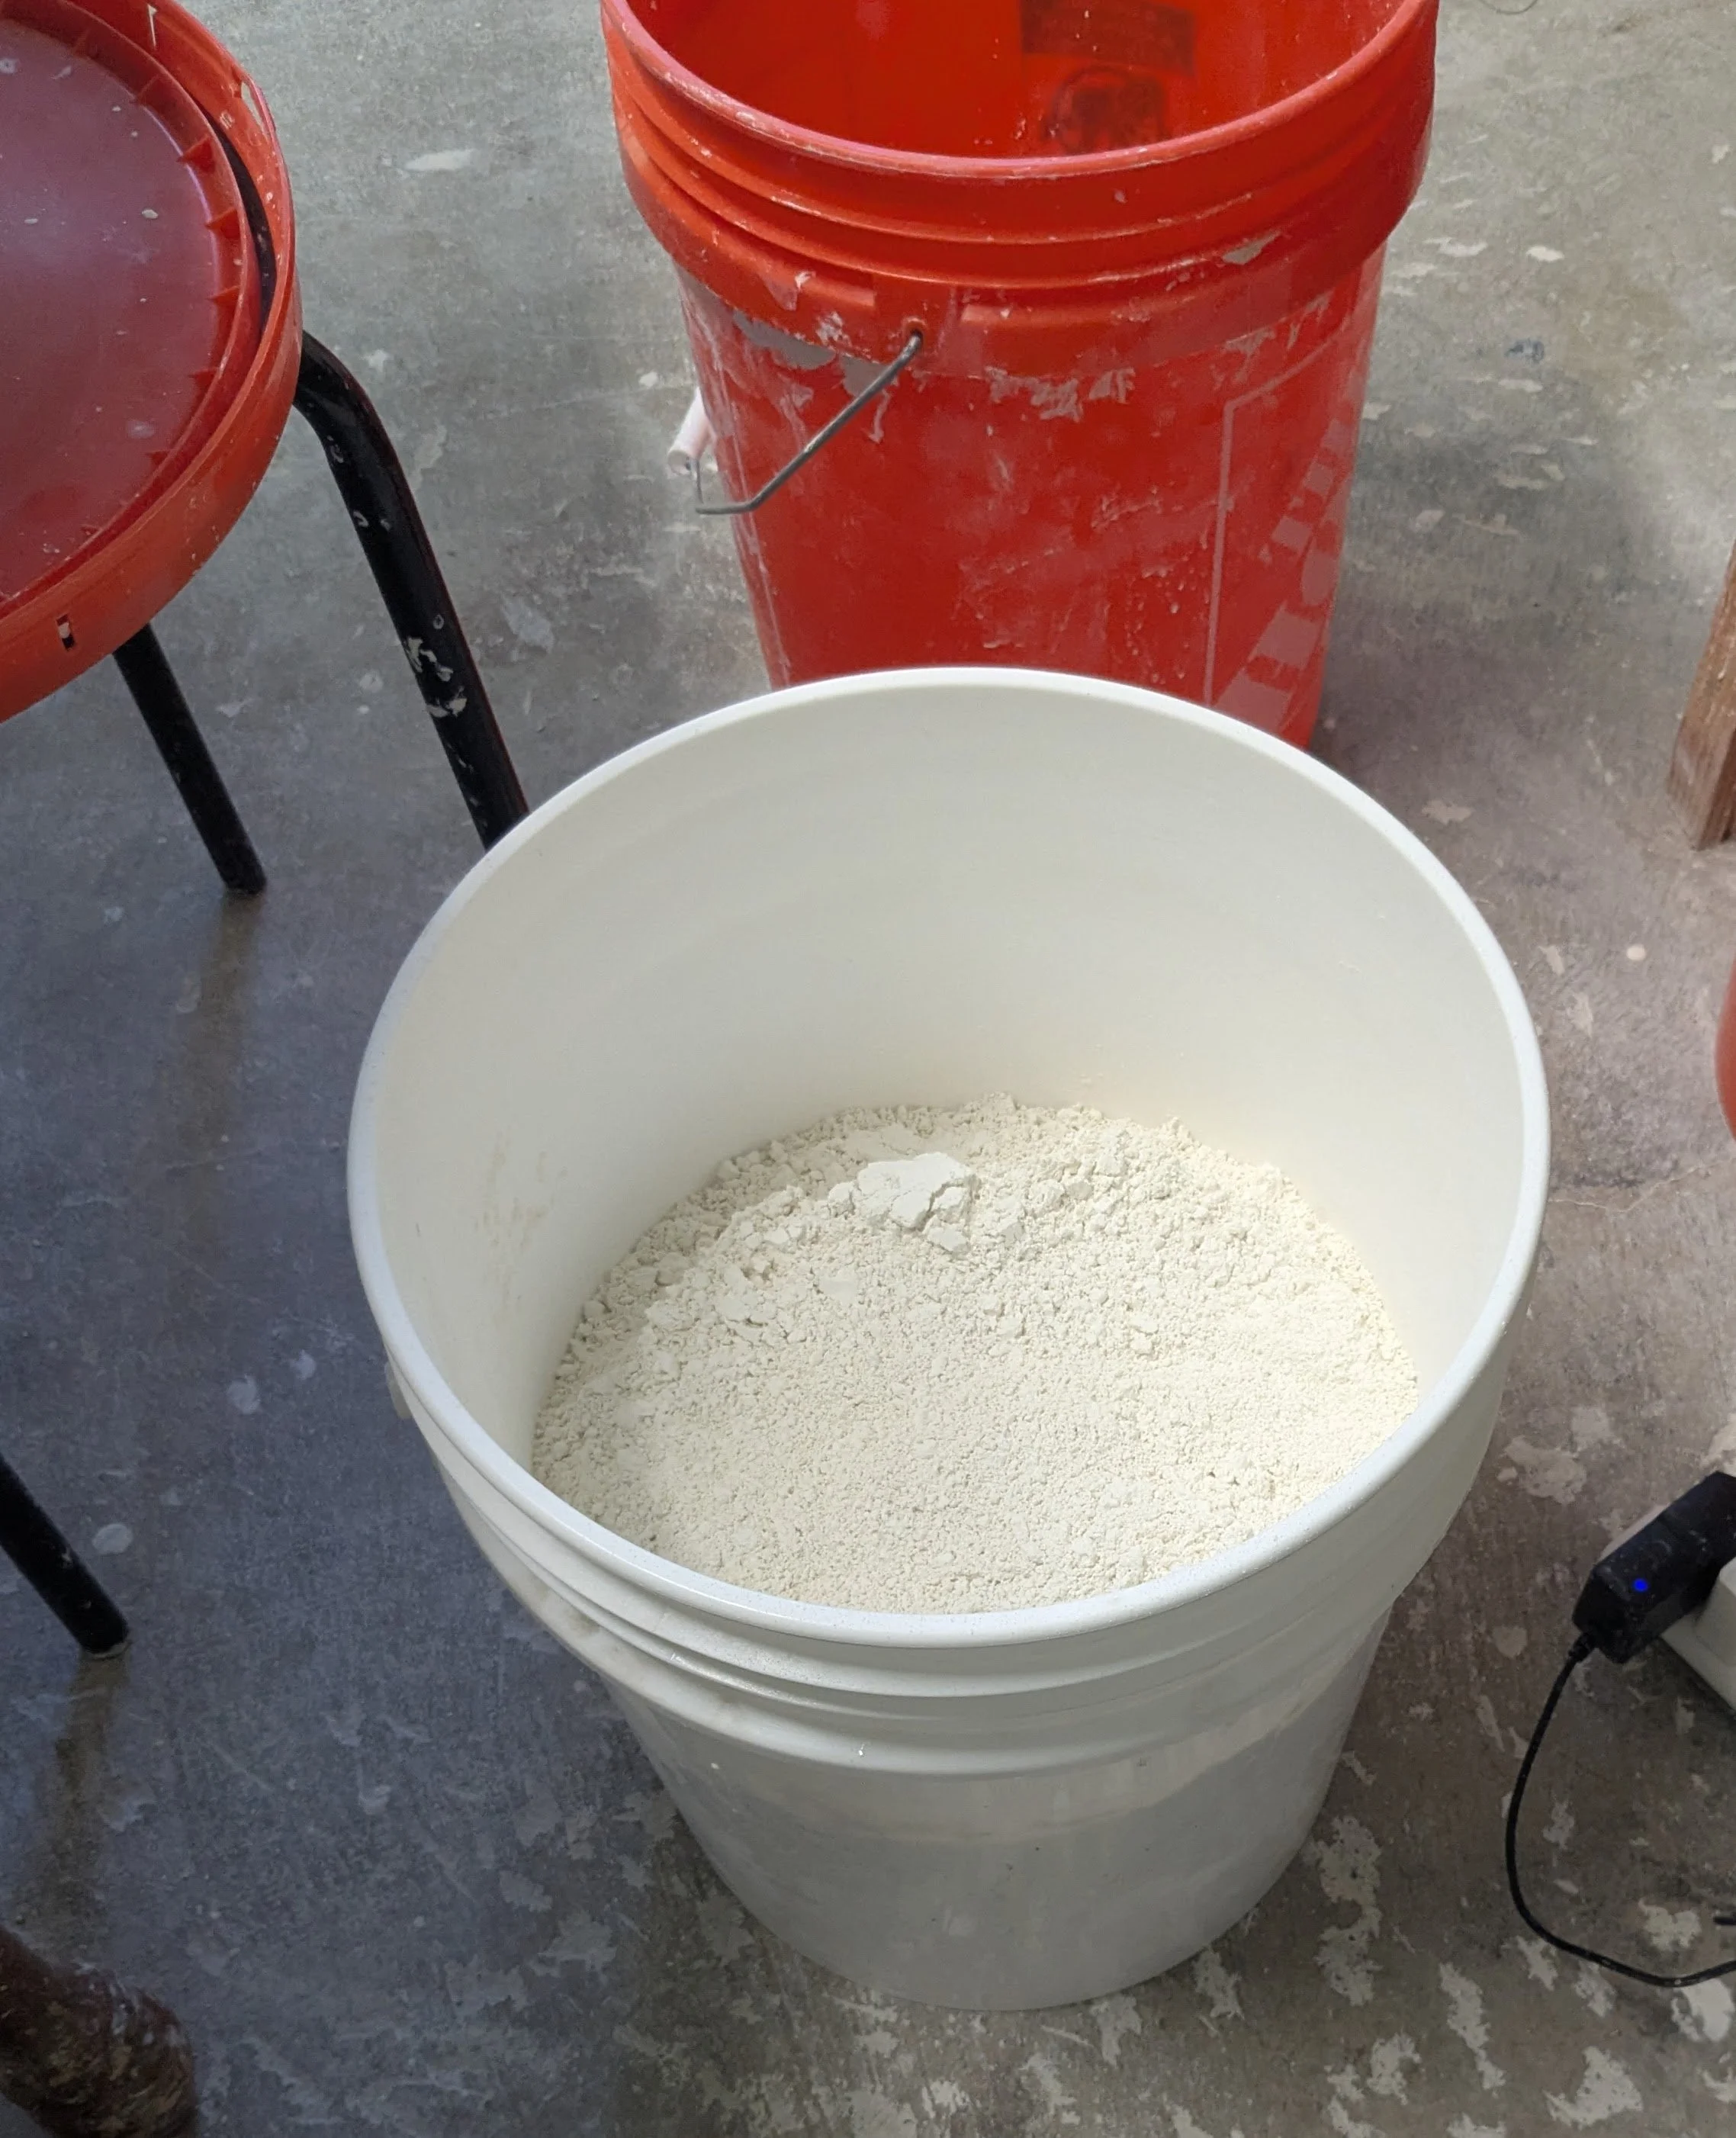
Dry slip
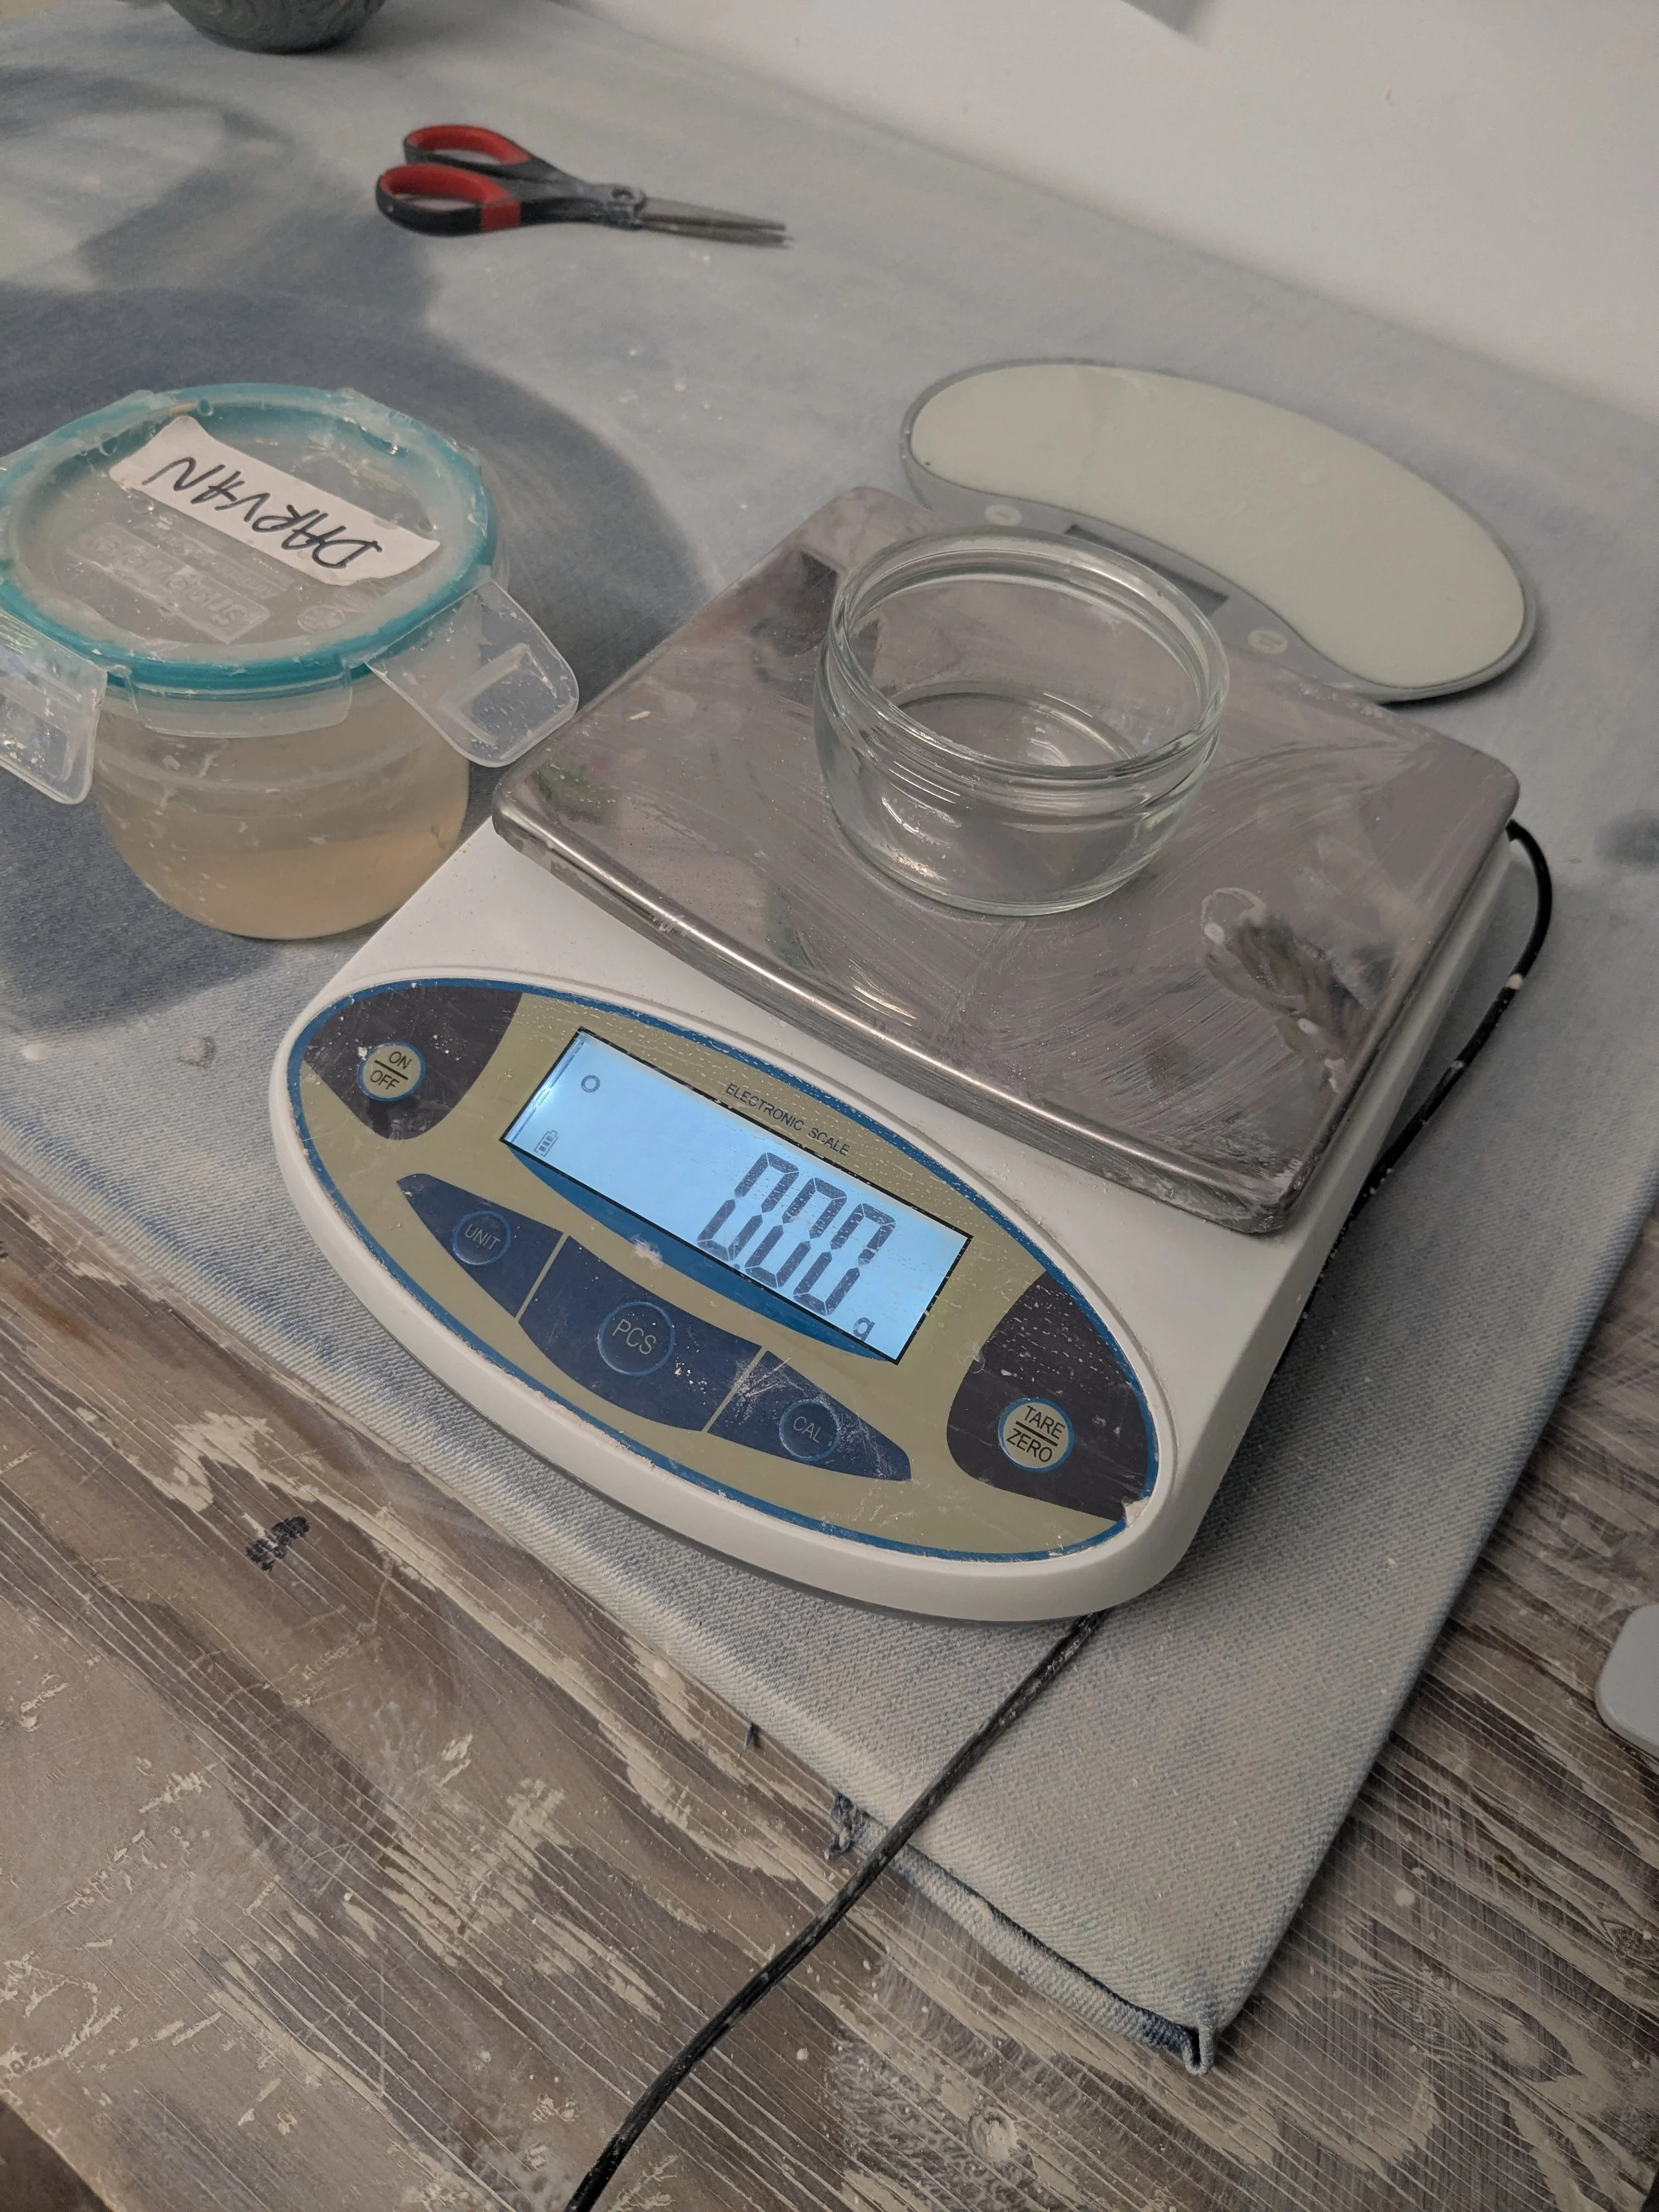
weighing the deflocculant
To make slipcasting slip from dry slip you need: two buckets including a 5 gallon one and lids, a respirator, a scale, distilled water, deflocculant (I use Darvan. Some people use sodium silicate and soda ash) and a drill with a paint mixer attachment.
The recipe I used was 7kg of dry slip, 3 liters of distilled water and 35g of Darvan. Yes, I believe in metrics. I put the Darvan in the water, measured the slip in a big plastic bowl (in 3 different loads, as my scale has a maximum load of 3kg) and added the slip to the water. If that seems like a lot of clay compared to the amount of water, you are correct. It seems impossible that this much dry clay will dissolve into this little water, but it does thanks to the deflocculant. Use the drill and paint mixer to mix it together. Voilà! It’s quite easy. When I measure the specific gravity, it’s around 1.68 and seems to work fine for me. I explain what is specific gravity and how to measure it on this post.
Some details: You need to make the slip in a 5 gallon bucket to accommodate the volume of dry slip before you can transfer it to a smaller bucket once the slip is mixed. It makes about 6 liters of slip. Overall I bought a 50 pound bag and I was able to make 3 batches of slip (about 18 liters of slip). It is almost 50% cheaper than buying the ready-made slip.
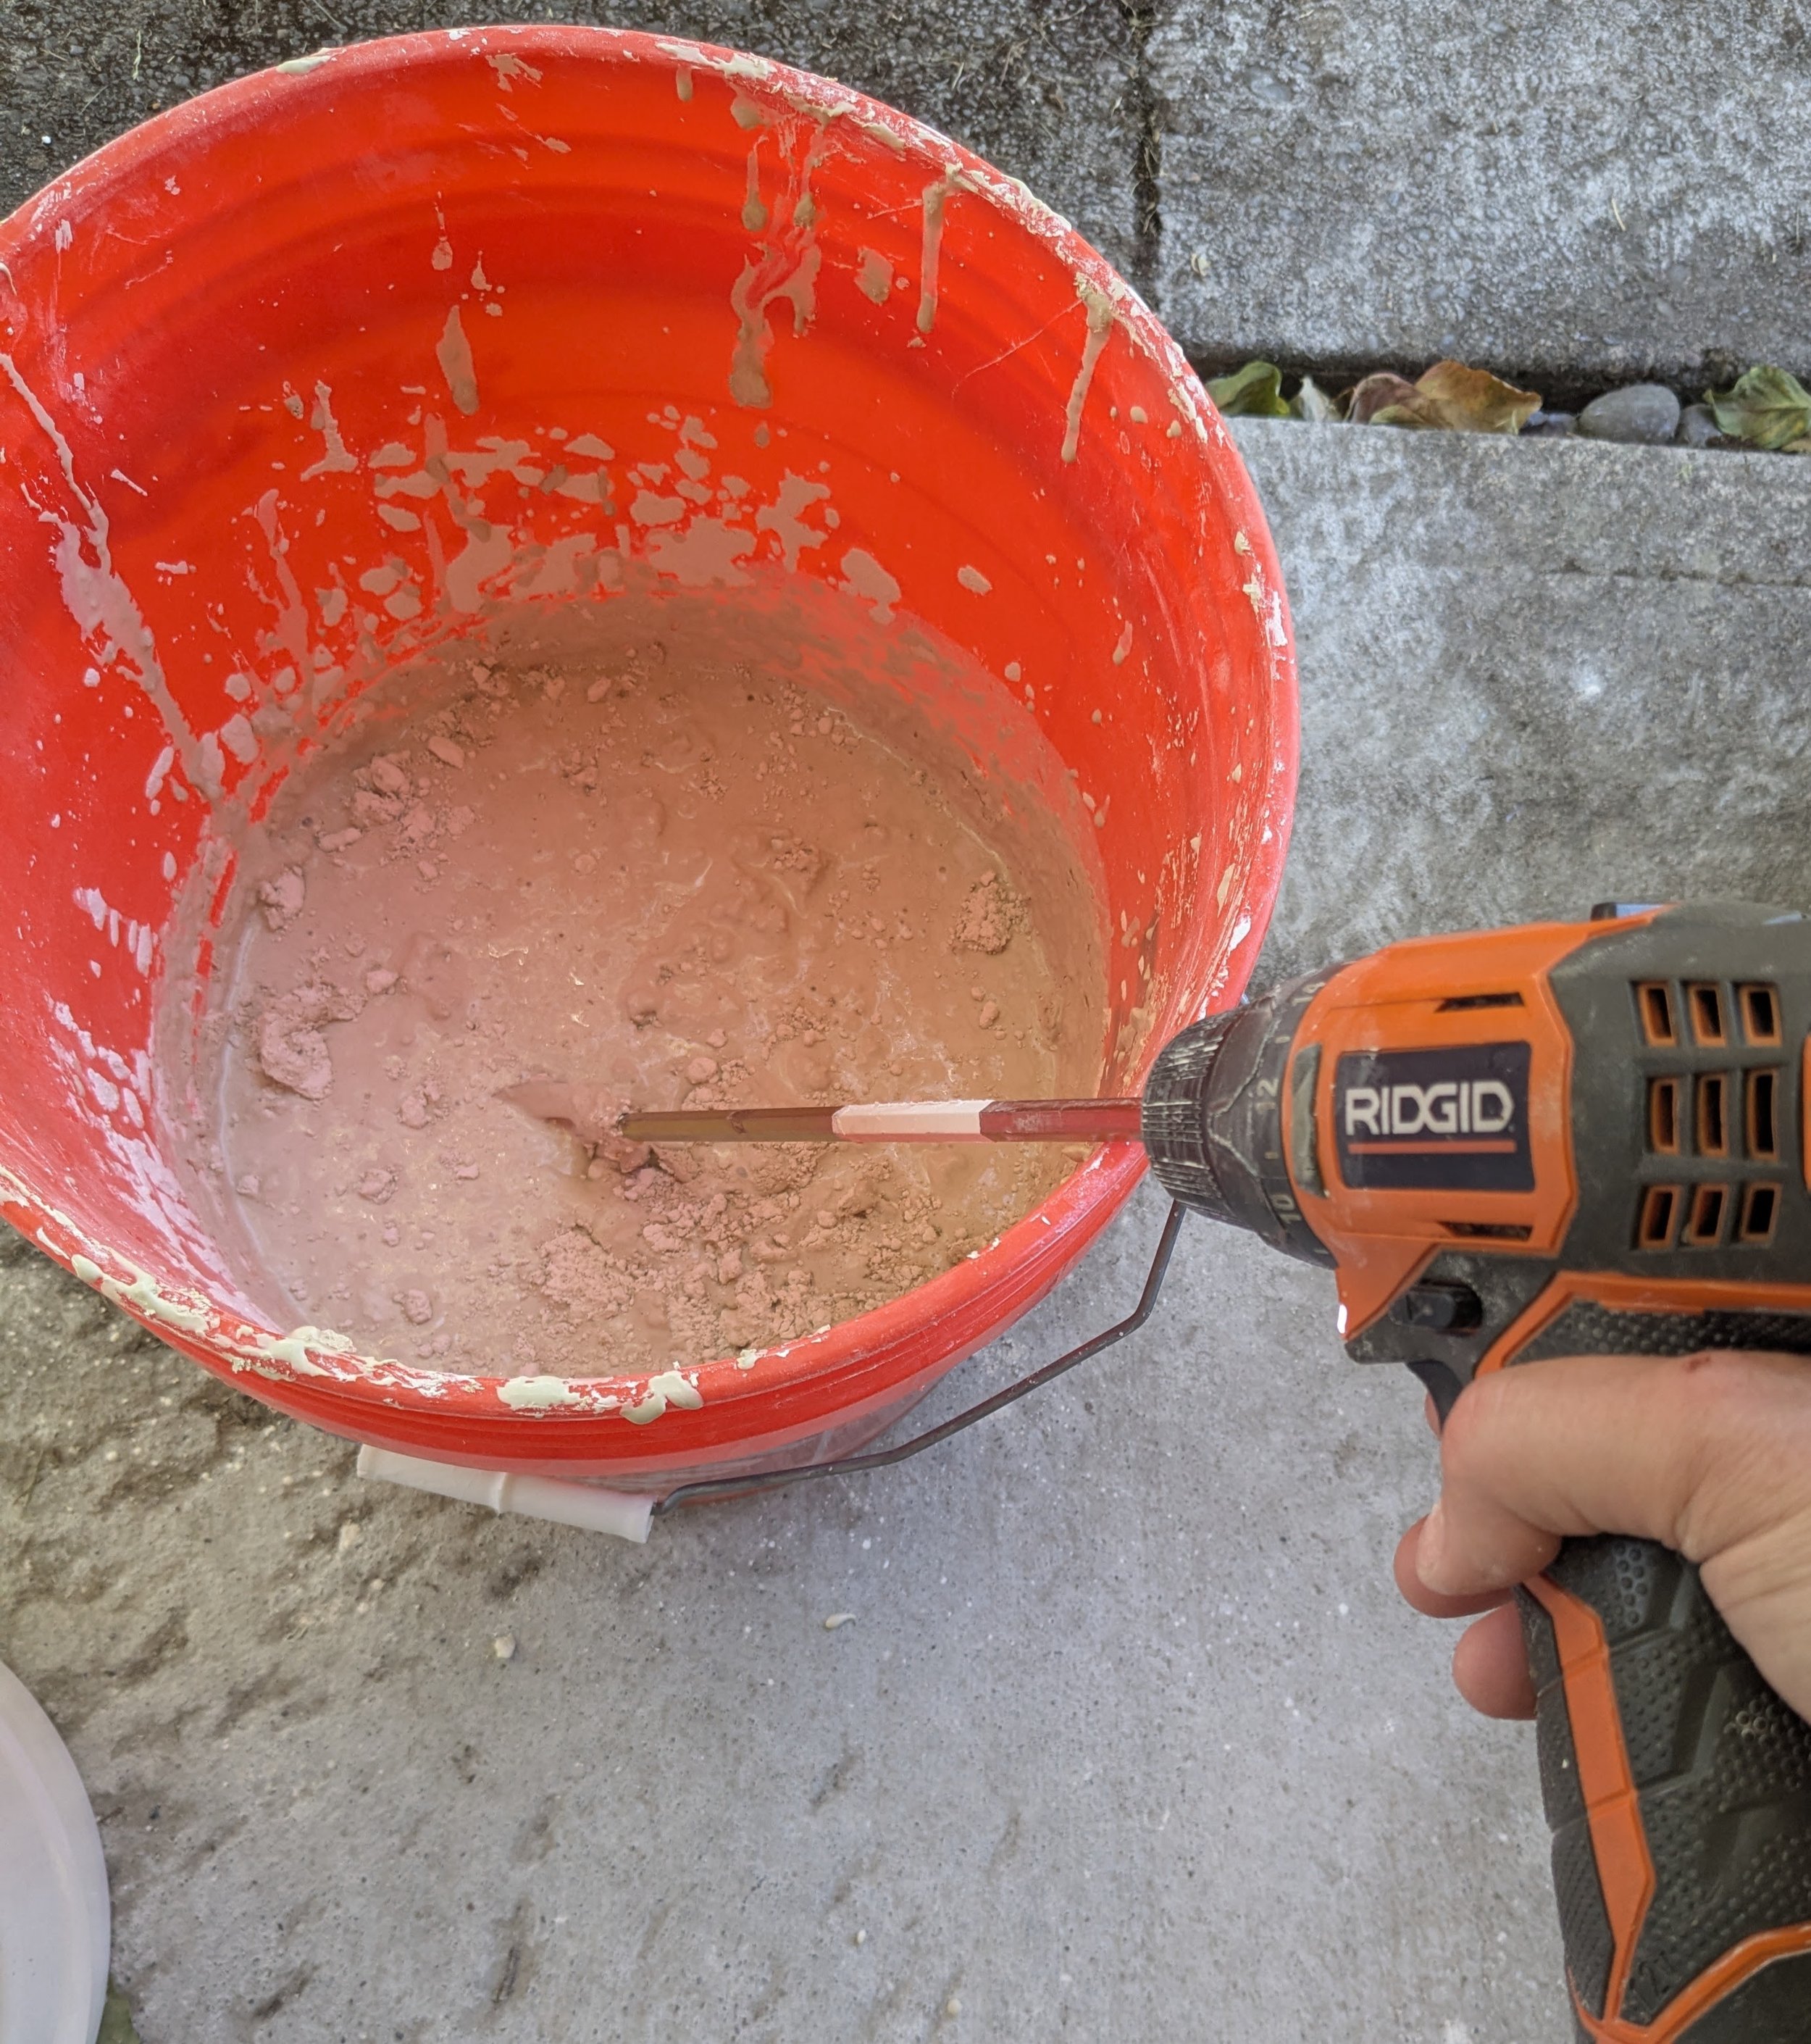
Mixing the slip with the paint mixer

colored slip test tiles make a nice necklace!
Caution: The first time I dumped the slip in the bucket it created a plume of powdered slip that plastered my face. Thankfully I has glasses and a respirator but I still got some into my eyes. Now I also wear eye protection and I am a little more careful when I dump the powder. Dump the slip into the water and not the other way round. Make sure to put the Darvan in the water before you dump the slip.
Why distilled water? From what I read (but I don’t know if that’s true) it seems that the minerals in tap water counteract the deflocculant and make the slip clump. I started using distilled water to spray my colored clay when it becomes too thick as well as adding some Darvan and I hope it will stay liquid longer. It seems that the smaller the amount of slip, the harder it coagulates and I believe without any proof that the stains might have this effect too (which would make sense if minerals counteract the deflocculant). I also found out that round containers are much easier to mix than square ones (!) It might seem obvious but it wasn’t to me. In a square or rectangular container, the clay coagulates at the four corners and it is harder to mix.
My base slip tends to stay the right consistency. Darvan creates a brown layer at the top but when you mix it again it is fine, although there is some thicker slip at the bottom of the bucket that is sometimes hard to mix back in. As I said in a previous post, I don’t worry about the viscosity of my slip. You see the consistency and can add a little Darvan and/or distilled water if it’s too thick. I sometimes worry I added too much water and the pot will fail but it has not happened yet. It’s probably just hard on your plaster mold if they have to suck out too much moisture and they might not last as long.
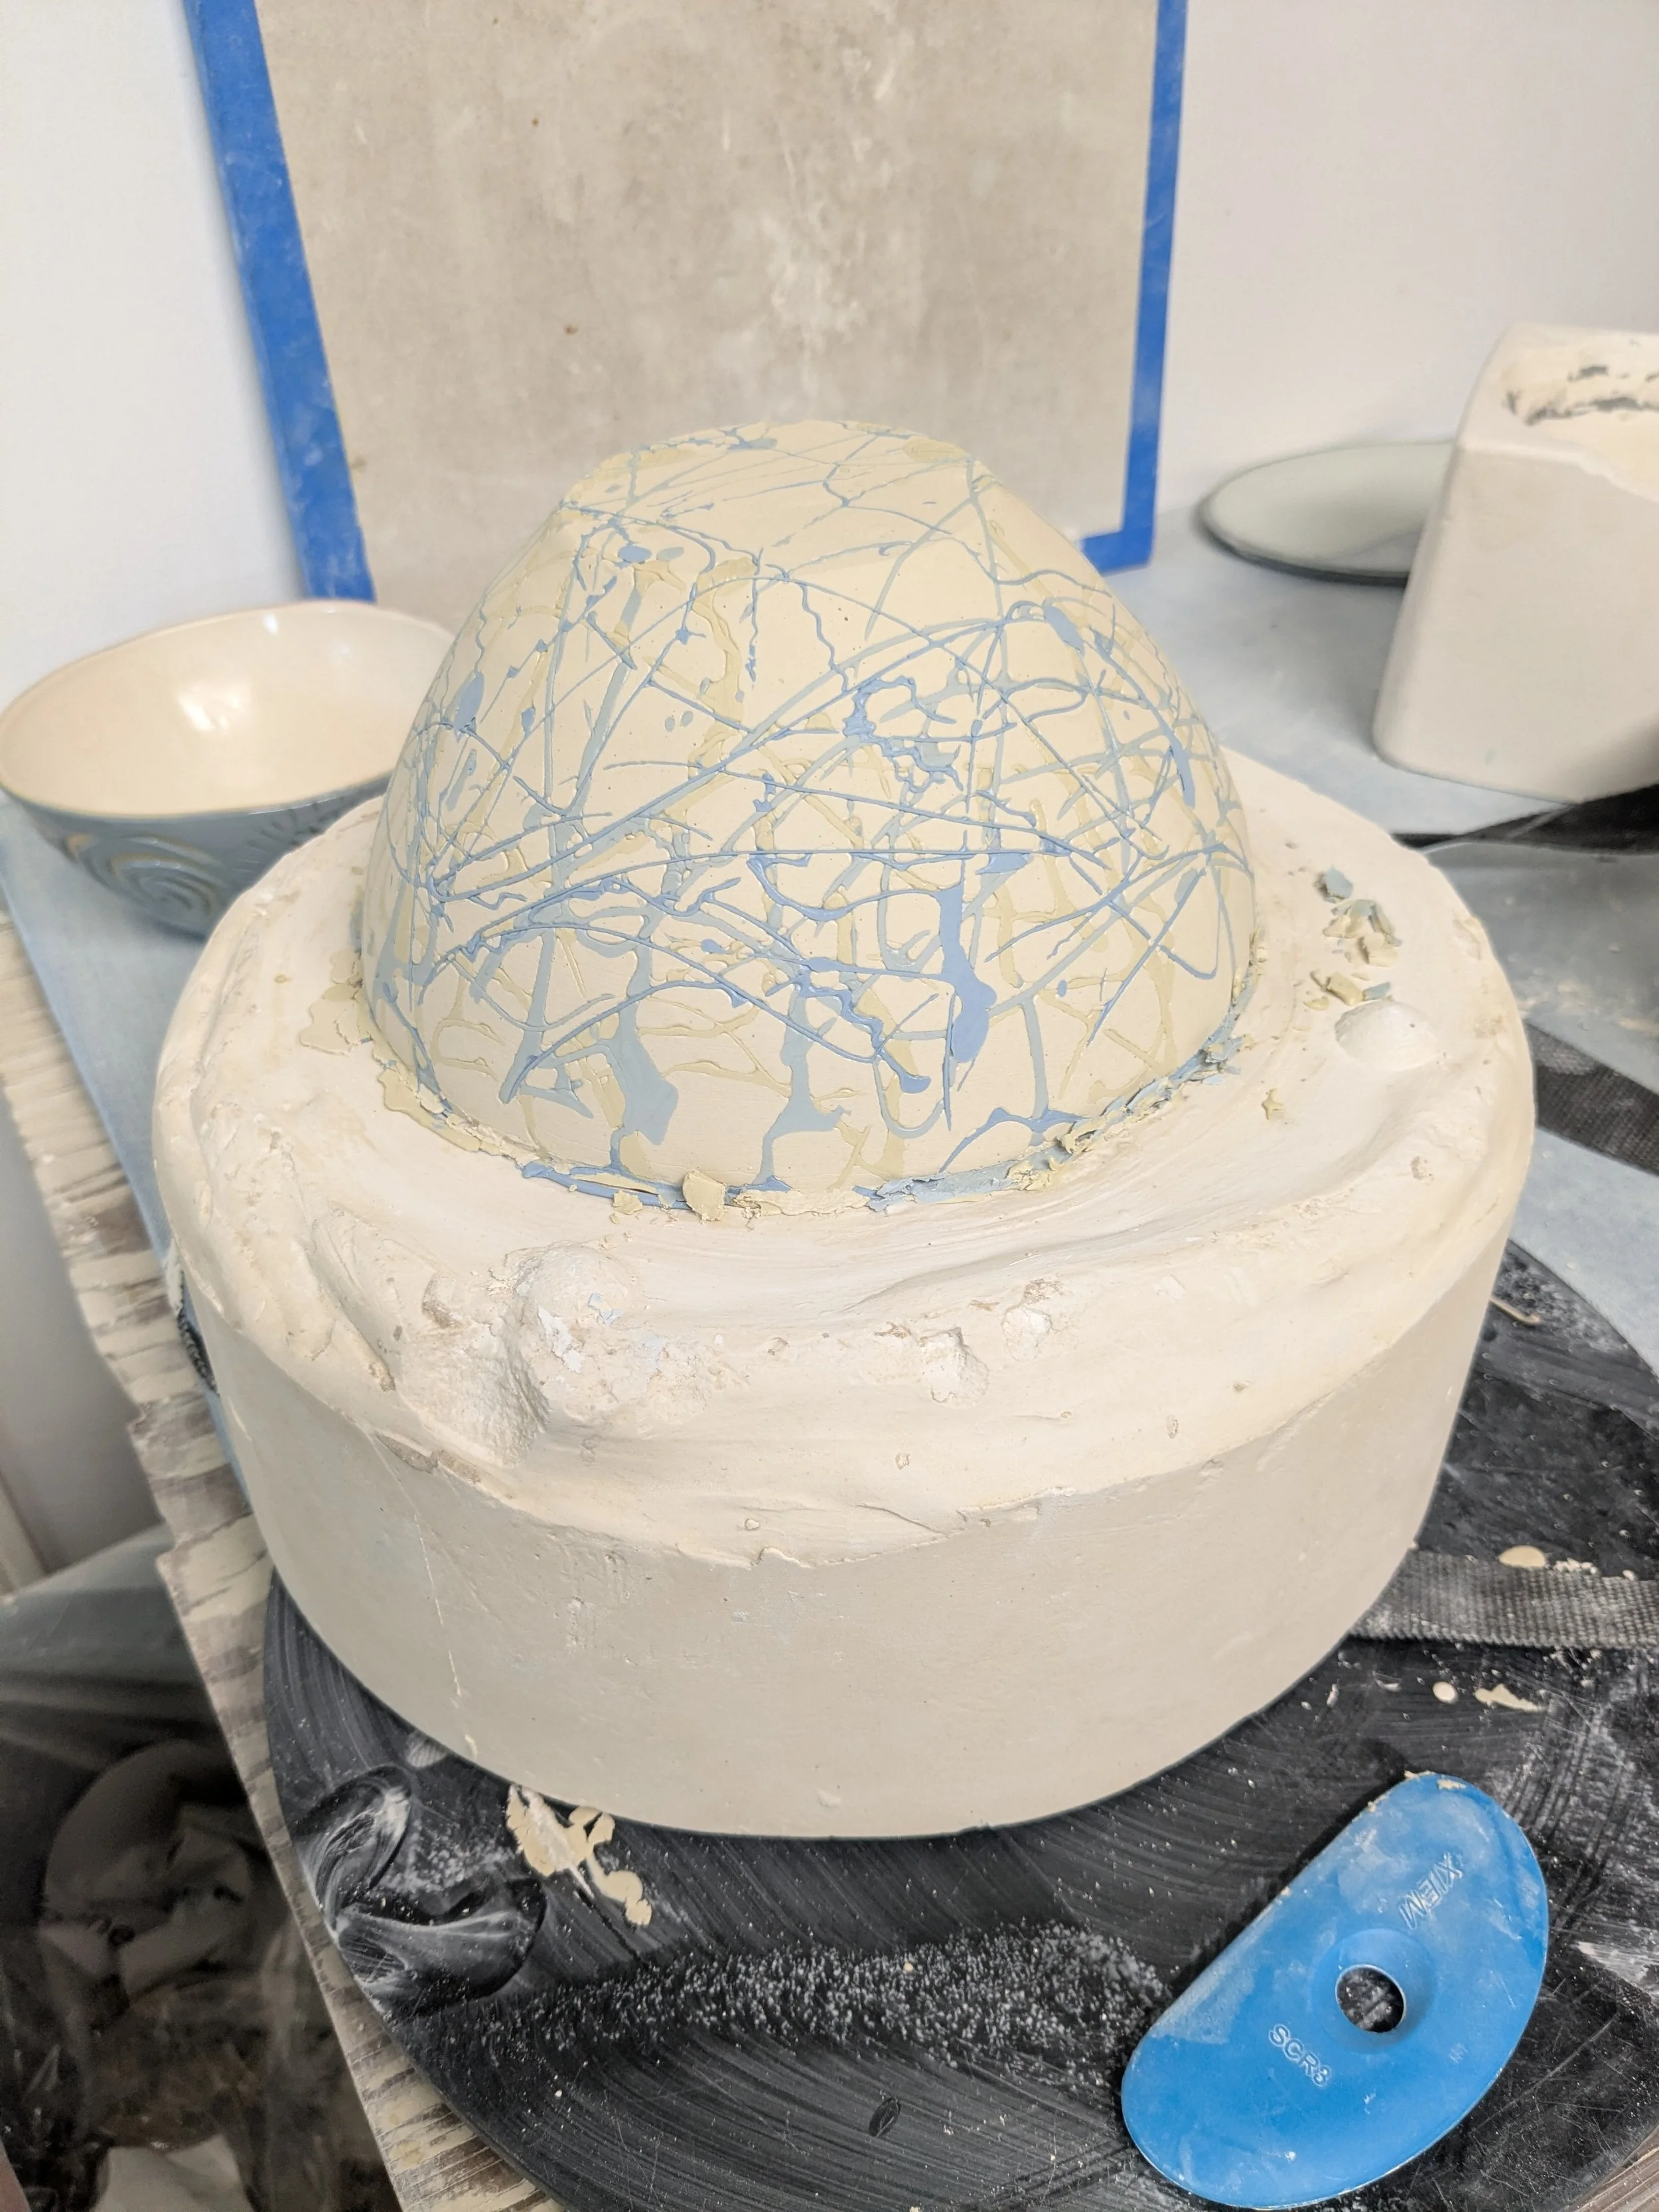
taking a piece off the plaster mold can be tricky
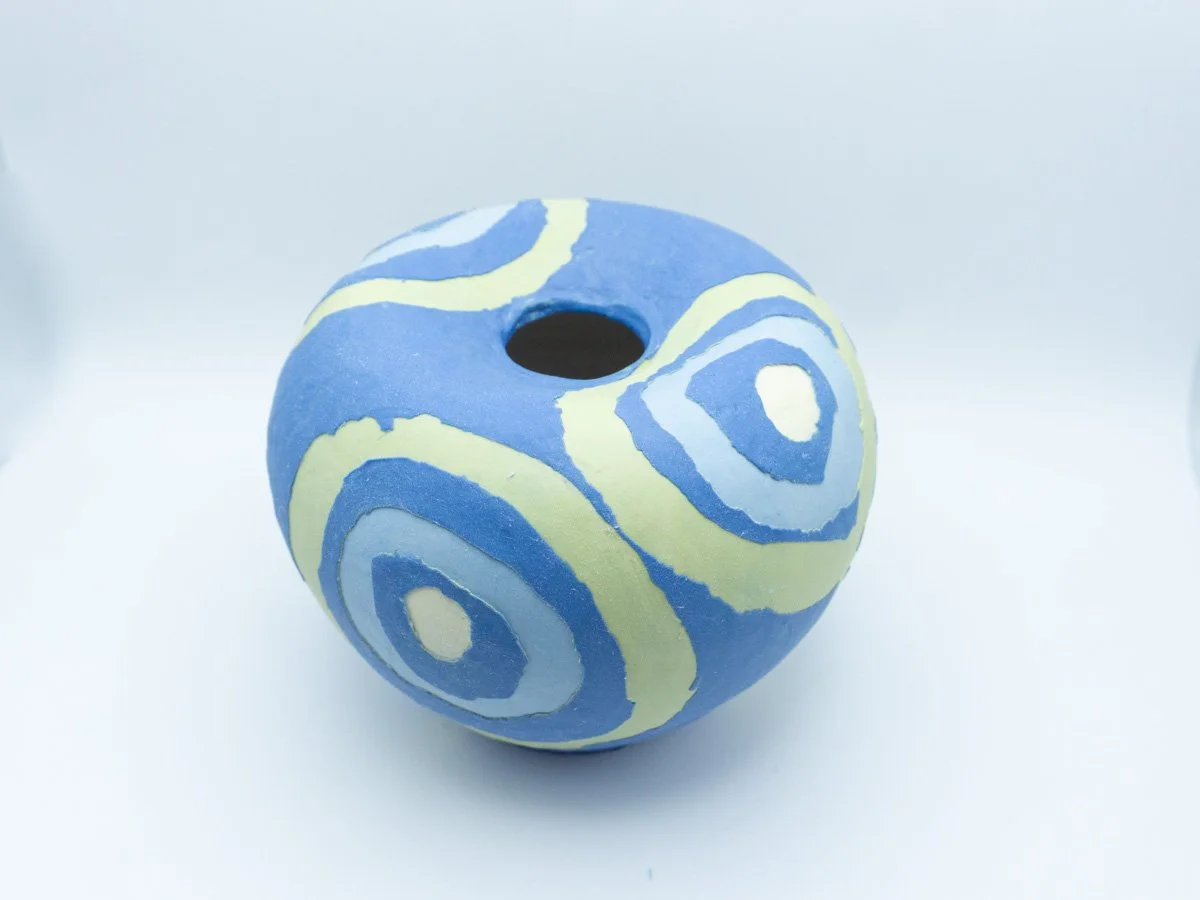
A piece using liquid latex to create the lines with different layers of slip (see below)
Liquid latex
Unrelated to slipcasting, here is a new decorating technique I experimented with as a way to use stencils with overlapping layers of slip. Instead of shapes cut out of paper, I paint lines of liquid latex with a brush on my pot between each layer of slip. The latex dries and you can peel it off. It creates ragged edges that I like better than the very precise paper edges. See picture for an example. I found liquid latex at my ceramic store. Don’t wait too long to peel off the latex or the slip will fall off in bigger chunks than the covered area.